6 Tips For Arranging Flowers like a Pro
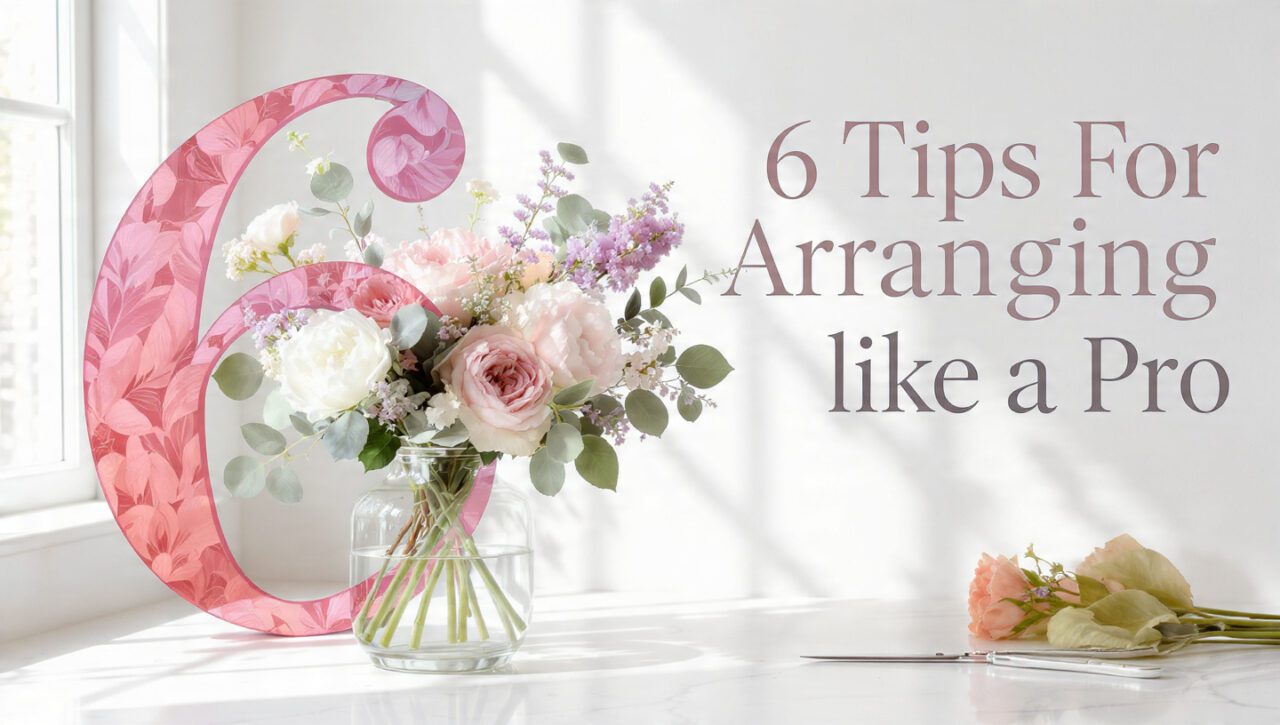
Learning effective tips for arranging flowers like a pro transformed my amateur attempts into stunning displays that impress guests and brighten my home beautifully. I used to buy gorgeous flowers from the market only to create messy, unbalanced arrangements that looked nothing like the inspiration photos I admired. The frustration of wasting money on beautiful blooms that looked terrible once I arranged them made me avoid fresh flowers entirely for months. After taking a floral design workshop and practicing these fundamental techniques consistently, I discovered the 6 essential tips that professional florists use to create those effortlessly elegant arrangements that seem impossible for beginners to replicate at home.
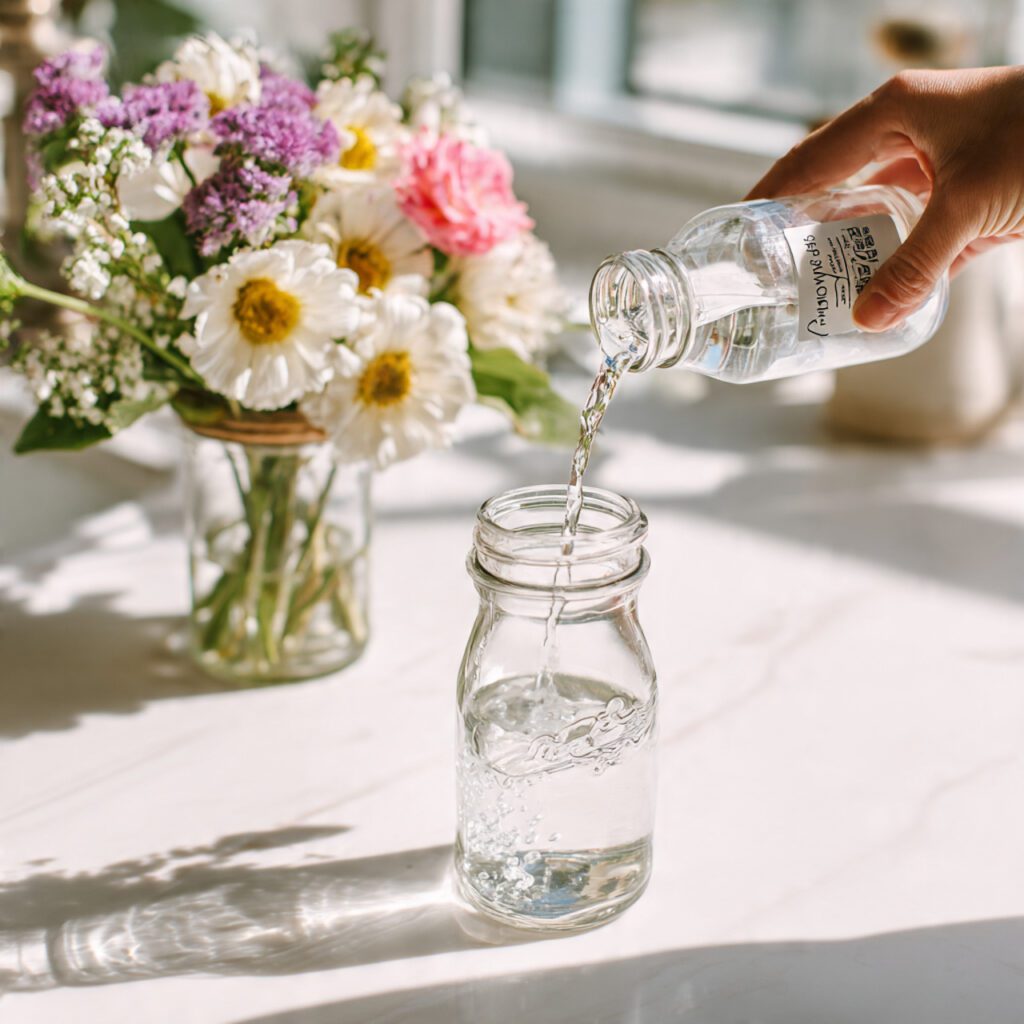
Tip 1: Start with a Clean Vase and Fresh Water
Beginning with a spotlessly clean vase and fresh room-temperature water provides the foundation for arrangements that last longer and look more vibrant. I scrub my vases with vinegar to remove any bacteria or residue that shortens flower life significantly. Adding flower food to clean water feeds your blooms while preventing bacterial growth that clouds water and causes premature wilting.
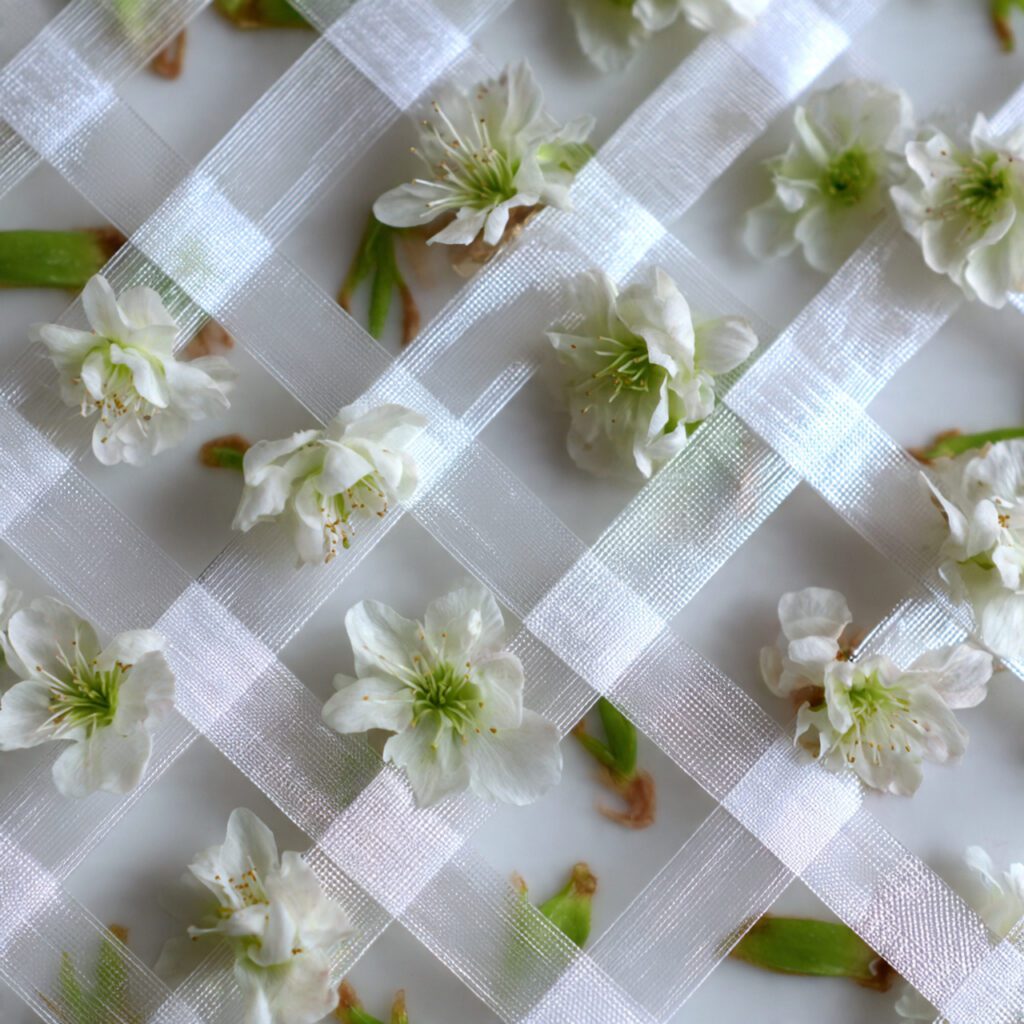
Tip 2: Create a Grid with Tape for Structure
Professional florists use chicken wire or frogs for support, but clear tape creates a grid across your vase opening that holds stems exactly where you place them. I create a hashtag pattern with waterproof floral tape that becomes invisible once flowers fill the arrangement. This simple structure prevents stems from shifting and helps maintain the balanced composition you envision instead of everything sliding to one side.
Tip 3: Remove All Foliage Below the Waterline
Stripping leaves and foliage from stem portions that sit underwater prevents bacterial growth that clouds water and shortens your arrangement’s lifespan dramatically. I carefully remove every leaf below where the waterline will sit, using sharp scissors to avoid damaging the stem itself. Clean stems in clean water create the optimal environment for flowers to drink efficiently and stay fresh for maximum time.
Tip 4: Cut Stems at 45-Degree Angle Underwater
Cutting flower stems at a sharp angle while submerged in water increases the surface area for water absorption while preventing air bubbles from blocking the stem. I prepare a bowl of water and cut each stem underwater immediately before placing it in the arrangement. These tips for arranging flowers like a pro ensure maximum hydration reaches the bloom, keeping your display fresh and vibrant for days longer than stems cut in air.
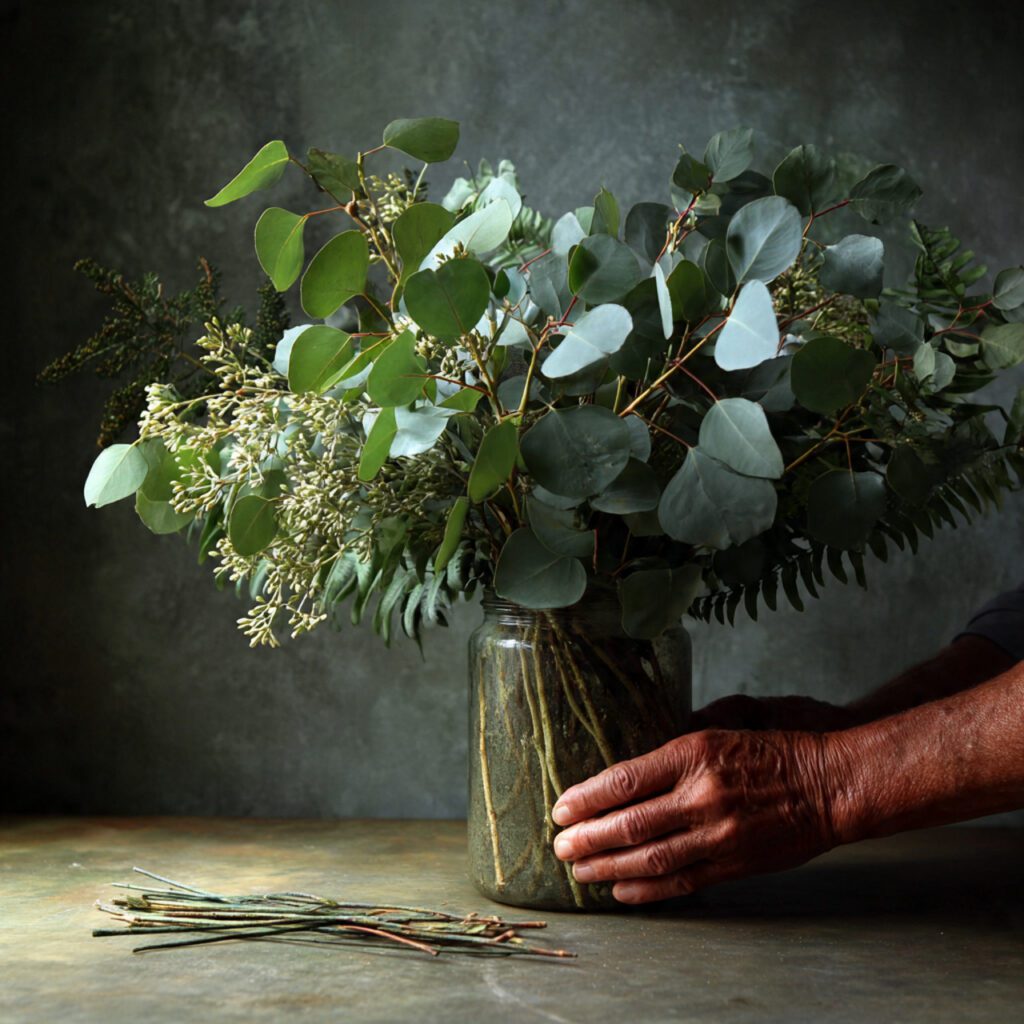
Tip 5: Build with Greenery First, Then Add Focal Flowers
Starting your arrangement with greenery establishes the overall shape and size before adding expensive focal flowers that become your design’s stars. I create the basic structure using eucalyptus, ferns, or other greenery that defines boundaries and fills space naturally. Once the green foundation looks balanced, I add larger focal blooms like roses or peonies, then fill gaps with smaller accent flowers.
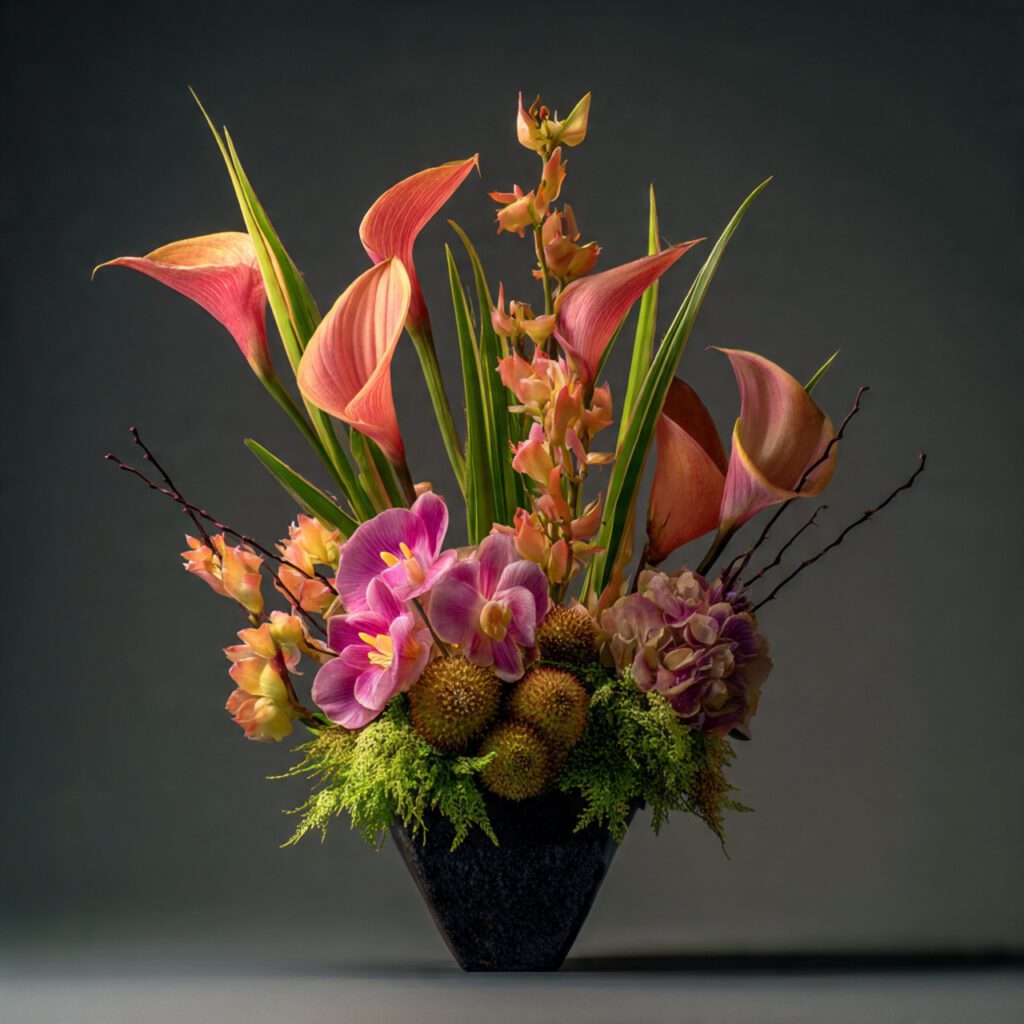
Tip 6: Follow the Triangle Rule for Balance
Professional arrangements follow a triangular shape whether viewed from front or top, creating visual balance that looks intentional rather than haphazard or accidental. I place my tallest stem in the center back, then create two lower points at the front sides to form this classic triangle. This fundamental design principle works for any style from loose and wild to tight and formal, providing structure that guides placement decisions.
Essential Tips for Selecting the Right Flowers
Choose flowers at different stages of bloom to ensure your arrangement looks beautiful immediately while lasting longer as buds gradually open over days. I select some fully open blooms for instant impact, several half-open flowers for the next few days, and tight buds that will open last. This strategic selection creates an arrangement that evolves and stays interesting throughout its entire lifespan instead of peaking on day one.
Consider texture variety by mixing different petal types, leaf shapes, and stem thicknesses that create visual interest through contrast rather than monotony. I combine delicate spray roses with bold dahlias, soft dusty miller with glossy leaves, and thin stems with thick branches. The interplay between different textures makes arrangements more dynamic and professional-looking than using flowers of similar structure throughout.
Pay attention to color harmony by choosing a cohesive palette of 2-3 colors that complement each other rather than using every color available. I stick to analogous colors like pink-purple-red or complementary pairs like blue-orange that create intentional color stories. Professional florists understand color theory, and limiting your palette prevents arrangements from looking chaotic or overly busy despite good technique.
Why Professional Techniques Matter for Home Arrangements
Understanding foundational floral design principles transforms random flower gathering into intentional artistic composition that elevates your entire space aesthetically. I noticed that applying these tips for arranging flowers like a pro made even grocery store bouquets look expensive and thoughtfully designed. The difference between amateur and professional results often comes down to technique rather than flower quality or budget spent on materials.
Proper technique also maximizes the lifespan and value of your flower investment by ensuring blooms stay fresh and beautiful for their full potential duration. My arrangements now last 7-10 days instead of wilting after 3-4 days because I follow these professional care and handling practices. Learning correct methods prevents the disappointment of watching expensive flowers die prematurely due to avoidable mistakes in preparation or arrangement.
How to Practice and Improve Your Flower Arranging Skills
Start with inexpensive flowers from grocery stores or your garden to practice techniques without pressure or financial stress from ruining expensive blooms. I bought carnations and chrysanthemums for weeks while mastering these fundamentals before graduating to pricier flowers like garden roses. The practice builds confidence and muscle memory that makes arranging feel natural rather than stressful when working with special occasion flowers.
Take photos of your arrangements from multiple angles to identify what works and what needs improvement in composition, balance, and color placement. I review my photos critically, noting which techniques succeeded and which areas need adjustment in future attempts. This objective assessment accelerates learning faster than relying on in-the-moment judgment when you’re too close to the work to see it clearly.
Conclusion
These 6 tips for arranging flowers like a pro provide the essential foundation for creating beautiful, long-lasting displays that rival professional florist work. The techniques address both aesthetic composition and practical care that together produce arrangements you’ll proudly display rather than hide in disappointment. Mastering these fundamentals transforms flower arranging from frustrating trial-and-error into an enjoyable creative practice that brings natural beauty into your home through intentional, skillful design rather than lucky accidents that rarely happen.